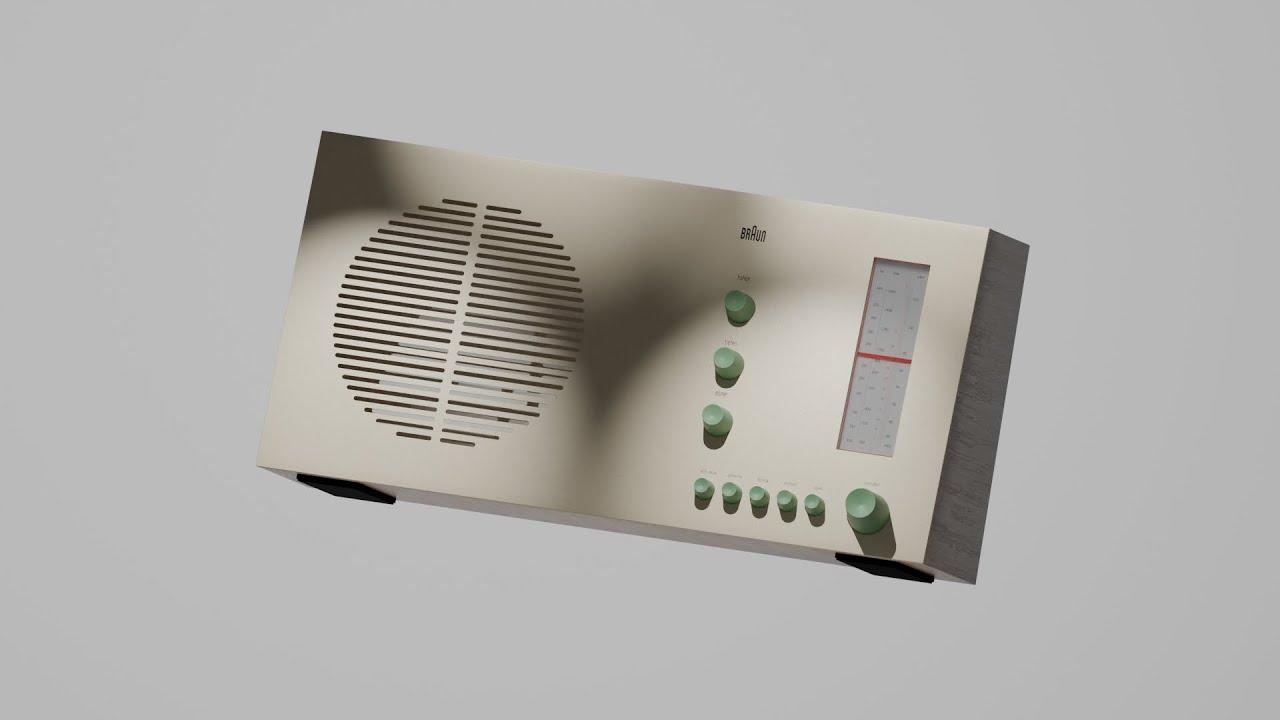
In this tutorial, Studio Jorza guides you through creating a retro radio 3D model using Blender. Jorza starts by setting up the scene, adding reference images, and organizing collections. The tutorial covers essential Blender techniques such as using modifiers, loop cuts, and bevels to shape the radio’s body.
Key Steps:
-
Setup and Organization:
-
Delete default camera and light.
-
Add collections for objects and reference images.
-
Import and position reference images.
-
Modeling the Radio Body:
-
Use loop cuts and modifiers to shape the radio.
-
Add details like knobs, speakers, and buttons using cylinders and arrays.
-
Adding Details:
-
Create holes for audio jacks and cables.
-
Model knobs and signals with bevels and arrays.
-
Use boolean modifiers for precise cuts.
-
Materials and Textures:
-
Apply materials for a realistic look.
-
Use Blender Kit for wood textures.
-
Add noise and bump textures for rubber and plastic parts.
-
Final Touches:
-
Add lighting to enhance the scene.
-
Position and adjust final details.
Throughout the video, Jorza provides clear instructions and tips, making it accessible for those new to 3D modeling. By the end, you’ll have a comprehensive understanding of creating a detailed retro radio model in Blender.
(This summary was generated using AI)
Bringing the Past to Life: Retro Radio 3D Modeling in Blender
- Price type: Free
- Price: Free