In this tutorial, you will learn how to create a stunning skincare bottle in Blender with Jorza from Studio Jorza. This beginner-friendly guide covers the entire 3D workflow, from initial setup to final rendering.
Modeling the Bottle
- Start by adding reference images to guide your modeling process.
- Create a cylinder and adjust its size to match the reference.
- Use loop cuts and extrusions to shape the bottle, adding details like the lid and inner barrel.
- Apply subdivision surfaces and auto-smooth to refine the object.
Texturing and Materials
- Utilize Blender’s shader editor to create realistic materials for the bottle.
- Add color and texture using noise textures and color ramps.
- Incorporate bump maps for added detail and realism.
Rendering and Lighting
- Set up lighting using an HDRI environment texture.
- Adjust render settings for a polished final image, including color management and transparent film settings.
- Use render regions to focus on specific parts of the scene.
Final Touches
- Add finishing touches like labels and additional details to complete the bottle design.
- Save your work and prepare for potential future animations.
Join Jorza on Patreon or Gumroad for more tutorials and resources.
Stay connected with Jorza on Instagram.
(This summary was generated using AI)
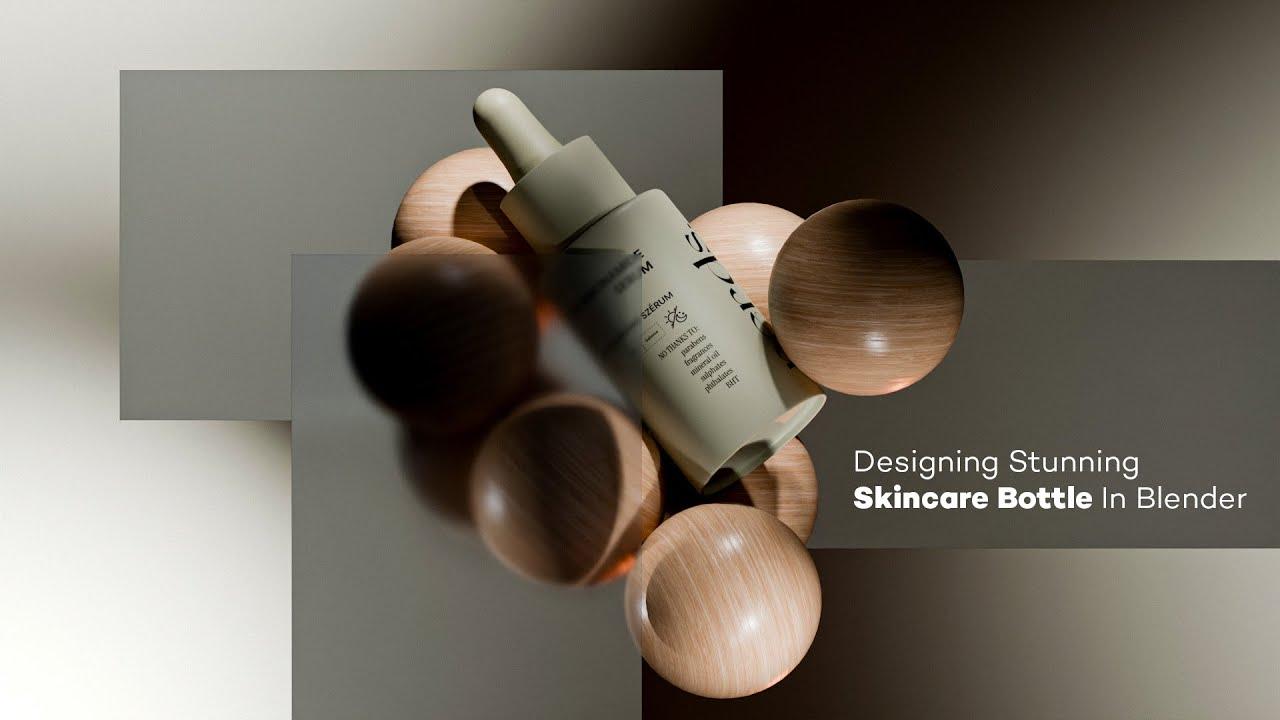
Designing a Stunning Skincare Bottle in Blender – Full 3D Workflow
- Price type: Free
- Price: Free