Video Description
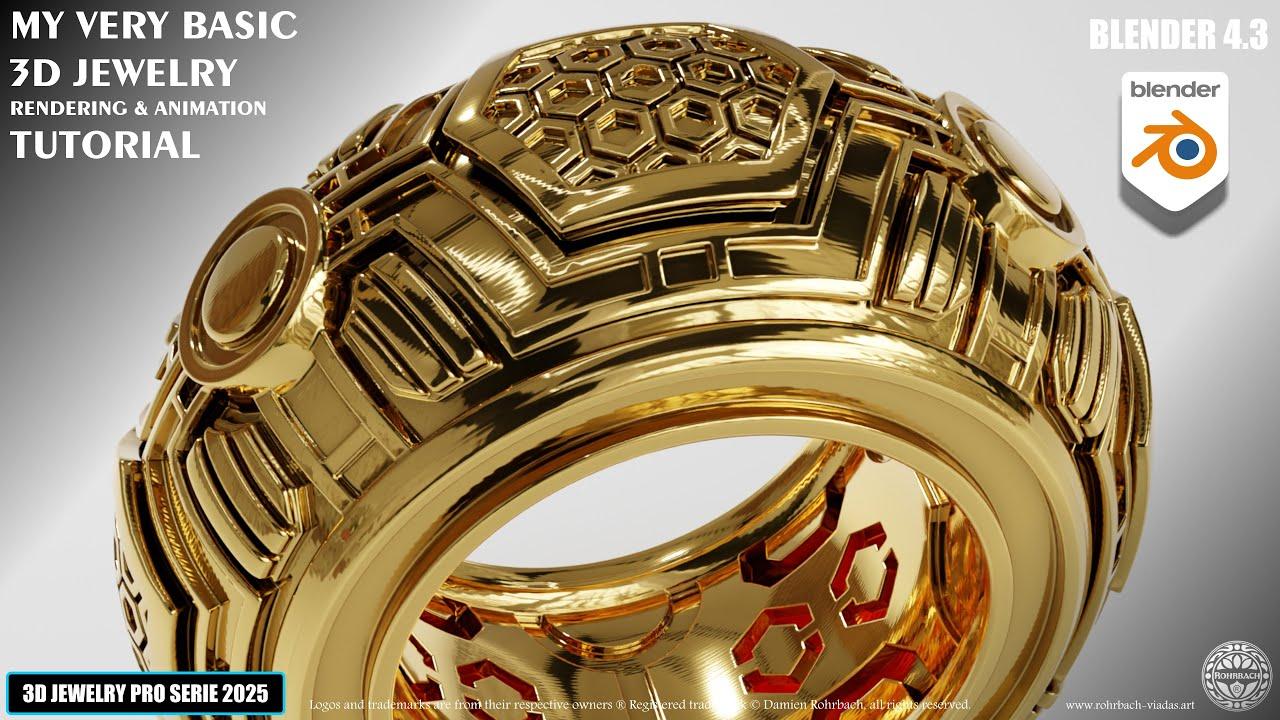
In this tutorial, you’ll learn how to create a 3D jewelry rendering and animation using Blender 4.3 with ROHRBACH ® the Jewelry Jedi. This video builds upon a previous modeling tutorial, so make sure to complete that first.
Key Steps:
-
Setup:
-
Add an environment texture using an image from PolyHaven.
-
Save a new render file to keep the modeling file intact.
-
Materials and Shading:
-
Create a gold material with customizable hue and saturation.
-
Apply auto-smooth to all elements and add a floor plane with a new material.
-
Enhance the gold material with bevel, gabore texture, and tweak settings for realistic effects.
-
Lighting and Camera:
-
Add a point light and position it as needed.
-
Set up the camera with a square format and adjust the focal length.
-
Create a bezier circle path for the camera to follow and animate it.
-
Rendering:
-
Set up the output settings, including frame range and file format.
-
Use the Open Image Denoiser for high-quality renders.
-
Render the animation as a PNG sequence.
-
Video Editing:
-
Use Blender’s Video Sequence Editor (VSE) to create the final animation.
-
Set the output to 4K resolution and 60fps.
-
Export the final video using the MPEG-4 H.264 format.
This tutorial provides a comprehensive guide to creating professional 3D jewelry animations in Blender 4.3.
(This summary was generated using AI)
That basic 3D JEWELRY Rendering Animation Tutorial in Blender 4.3
- Price type: Free
- Price: Free